Spidertron Combat and Mobility Guide

Unlock the path to Spidertron before you start crafting parts
Do not treat Spidertron as one isolated research goal. It sits behind several separate unlocks, and if you rush the item itself before the supporting tech is ready, you’ll just end up with an expensive recipe you cannot use well.
Your first priority is to get Radar and Exoskeleton equipment online. 


Set up the components you will keep needing
Before you queue your first Spidertron, make sure your factory can comfortably produce the parts it eats. This is not a one-off craft; it is a test of whether your late-game production is ready for a mobile platform that uses electronics, nuclear components, and bulky structural materials all at once.
Here is the core build data you should keep handy:
| Item | Inputs → Output | Machine | Time |
|---|---|---|---|
|
   |
 |
0.5s |
| Exoskeleton Equipment |    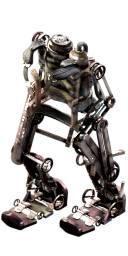 |
|
10s |
| Fission Reactor Equipment |   |
|
10s |
|
   |
|
10s |
The important takeaway is that Low density structure and Processing unit are the two pressure points you should watch most closely.
If your production is not already stable, do not start by crafting Spidertron pieces directly. Build Radar and Exoskeleton equipment first, then scale the nuclear and electronics side until the expensive ingredients stop feeling special.
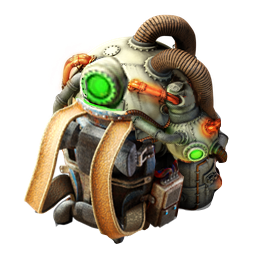
Solve the power problem for the portable reactor first
The fuel it uses is Uranium fuel cell, and that fuel is only used by the nuclear reactor to produce heat. A Uranium fuel cell burns for 200 seconds, and when it burns out it leaves a depleted uranium fuel cell that you can reprocess in a centrifuge to recover some uranium-238. That makes the fuel loop efficient, but only if you actually keep it supplied.
So before you rely on Portable fission reactor for long trips or combat, make sure your uranium processing is stable enough that you are not treating fuel cells like a precious emergency resource. If your nuclear setup is still shaky, hold off on heavy Spidertron use and stabilize the fuel chain first. The reactor is what keeps your movement and combat equipment working, so the reactor’s fuel supply is a direct part of Spidertron’s performance.
Build Spidertron as a combat platform, then tune it for speed
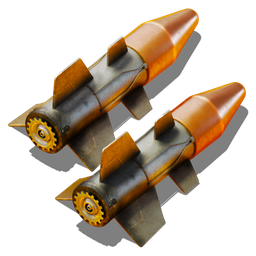
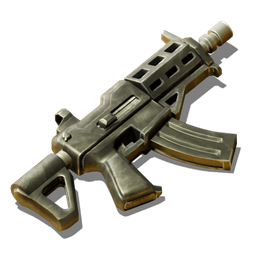
Use the combat side of the grid when you expect resistance. Spidertron’s four rocket launchers operate in chain mode, so it can fire rapidly at enemies, and it can automatically target hostile units even when no player is riding inside it. That makes it excellent for clearing nests, escorting you through hostile territory, or holding a position while you stay at a safer distance. If you want it to survive longer in those situations, prioritize shields. If you want it to hit harder, add personal laser defenses.
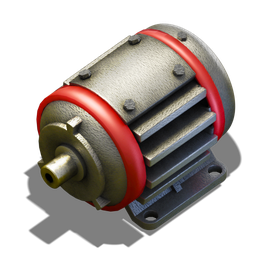
Use exoskeletons when you want travel speed. Spidertron’s speed is only increased by exoskeletons, and up to 5 exoskeletons can fit in its grid. Its approximate top speed rises from about 46 km/h by default to about 57 km/h with 1 exoskeleton, about 68 km/h with 2, about 85 km/h with 3, about 90 km/h with 4, and about 102 km/h with 5. That is a huge jump, so if your main goal is transport or rapid response, exoskeletons are the first speed upgrade you should buy into.
Do not overbuild speed at the expense of survival if you plan to fight. A fully loaded Spidertron can be both fast and heavily armed, but the grid is still finite, so decide early whether you want a courier, a scout, or an assault platform.
Use radar coverage to keep remote control and map vision comfortable
You want Radars placed along travel routes, near outposts, and around places where you plan to work remotely. Each radar continuously updates a nearby 7×7 chunk area, which is 224×224 tiles, centered on its chunk. At full power that nearby pulse updates about once per second. At 20% power it updates about every 4 seconds and still keeps the area continuously lit, though with reduced detail. That low-power behavior is useful if you are supporting a sparse radar network rather than a fully powered station.
Radar also performs long-range survey scanning. It scans a 29×29 chunk area around itself, excluding the nearby 7×7 chunk area, and at full power it scans one distant chunk every 33.333 seconds. Multiple radars share long-range chunks and avoid scanning chunks already being scanned by another radar, so a network of radars speeds up exploration much better than a single isolated one. If you want Spidertron remote work to feel smooth, keep the important parts of the map in radar range and add more radars where coverage gaps would slow you down.
Scale safely and avoid the mistakes that make Spidertron feel worse than it should
Do not assume a bright map means an area is safe. Charting persists for 10 seconds after a scan, then fades back into fog of war unless it is refreshed. A previously scanned chunk can still contain a new alien nest later, so map brightness is useful for navigation, not for permanent security.
Keep scouting habits even after you have Spidertron.
Most importantly, remember that Spidertron does not take fuel. If it feels weak, the problem is not fuel management; it is equipment choice. More Radar coverage, better exoskeleton balance, more defensive modules, and a stable Portable fission reactor supply are what make the platform shine. Build those pieces in that order, and Spidertron becomes exactly what it is meant to be: a mobile late-game tool you control, rather than a flashy unit you babysit.
Pages featured in this guide
- buildingSpidertron
- buildingRadar
- technologyRocketry
- itemLogistic science pack
- itemMilitary science pack
- itemChemical science pack
- itemProduction science pack
- technologyExoskeleton equipment
- technologyElectric engine
- equipmentPortable fission reactor
- itemPower armor
- technologyMilitary
- itemElectronic circuit
- itemIron gear wheel
- itemIron plate
- buildingAssembling machine 1