Tesla Coil
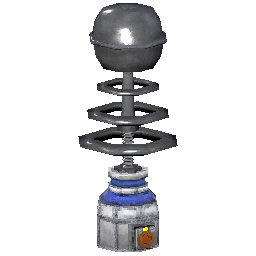
A highly-charged electrical device that will zap anyone and anything that comes near it.
Overview
A
The
Practical notes and interactions:
- Placement: Use Tesla Coils to control choke points and corridors where enemies must pass, turning narrow approaches into lethal zones without requiring continued player input.
- Defensive use: Position coils near valuable assets or around perimeters to deter or punish intruders. They serve as passive defense that persists while powered.
- Risk to allies and the environment: Because the coil affects anything that comes close, allied units, friendly NPCs, and sensitive equipment can be harmed if they enter its effective area. Account for movement patterns before deploying or activating a coil.
- Tactical synergy: Tesla Coils pair well with obstacles or traps that funnel targets into their range, increasing the likelihood that enemies will be exposed to the discharge.
- Visual and audio cues: The device’s high charge implies visible arcing or buzzing; treat such cues as warnings that the area is dangerous and that the coil is active.
- Counterplay and mitigation: Avoid close approaches when a coil is active or disable its power source if possible to neutralize the hazard. When disabling is not an option, reroute movement to bypass the coil’s zone of effect.
Across languages the core identity of the
Official description
A highly-charged electrical device that will zap anyone and anything that comes near it.
Other entities of this type
- Bag Wall (Block)
- Bag Wall (Corner)
- Bag Wall (Curve)
- Bag Wall (Half Curve)
- Bag Wall (Straight)
- Barricade (Carbon)
- Barricade (Makeshift)
- Barricade (Wood Full)
- Barricade (Wood Half)
- Chopinator
- Disc Turret
- Drop Shield
- Exor Fetish
- Laser Tripmine
- Laser Turret
- Neutrino Emitter
- OX Tower
- Pest Scarecrow
- Pest Trap
- Radio Scrambler
- Shock Trap
- Snag Vine
- Symphonist Scarecrow
- Tripwire Mine
- X-Ray Tower