Shock Trap
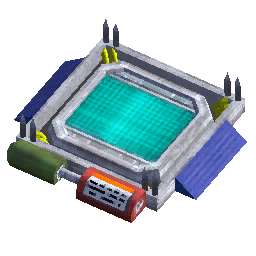
A sophisticated scientific stunning device, deployed to kill or ensnare. Reuseable, but requires recharging when depleted.
Overview
The
In gameplay terms the
Practical notes and strategy:
- Use the
- Because the unit is reusable, plan for logistics: maintain its charge between engagements. Recharge it before expected encounters to ensure it functions when needed.
- Employ the
- Position traps in chokepoints, near objectives, or along known patrol routes to maximize the chance of activation and to funnel enemies into predictable paths.
- A depleted
- The device’s versatility supports mixed tactics: combine with barriers, chokepoints, or other area-denial measures to multiply its effectiveness without expending the unit itself.
The
Official description
A sophisticated scientific stunning device, deployed to kill or ensnare. Reuseable, but requires recharging when depleted.
Other entities of this type
- Bag Wall (Block)
- Bag Wall (Corner)
- Bag Wall (Curve)
- Bag Wall (Half Curve)
- Bag Wall (Straight)
- Barricade (Carbon)
- Barricade (Makeshift)
- Barricade (Wood Full)
- Barricade (Wood Half)
- Chopinator
- Disc Turret
- Drop Shield
- Exor Fetish
- Laser Tripmine
- Laser Turret
- Neutrino Emitter
- OX Tower
- Pest Scarecrow
- Pest Trap
- Radio Scrambler
- Snag Vine
- Symphonist Scarecrow
- Tesla Coil
- Tripwire Mine
- X-Ray Tower