Automation Guide: Sensors, Relays & Actuators for Drought, Power, Production
Automation in Timberborn lets you turn game conditions into binary signals, process those signals with logic, and drive actuators to perform actions — enabling automated water management, power control, production scaling, badwater defence, bot logistics and more. Well-designed automation saves time, reduces micromanagement during droughts and badtides, and lets large colonies run efficiently.
Fundamentals: signals, components, workflow
- Automation follows a simple sense → process → act pattern. Sensors (sensing components) produce an active/inactive signal. Logic components (Relays, Timers) combine and transform signals. Actuators (Fill Valves, Throttling Valves, Clutches, Floodgates, Detonators, etc.) respond to signals and change the world.
- Signals are binary (on/off). Relays provide logic operations: AND, OR, NOT, XOR and Passthrough. Use AND when multiple conditions must be true, OR for alternative triggers, NOT to invert a signal.
- Connections are made in the Automation tool by selecting a component output and choosing targets. One sensor can control many actuators; a Relay can accept multiple inputs.
Sensors — what you can detect
Key sensors and typical uses:
- Depth Sensor: measures water depth at its location and activates when depth rises above a configurable threshold. Commonly used to automate Floodgates and Pumps (e.g., open floodgate when reservoir exceeds a chosen level).
- Flow Sensor: measures local water current (flow rate). Use it to detect when a channel is actively moving water (useful for Water Wheel control and verifying dam spillways).
- Contamination Sensor: detects water contamination level. Use it to trigger badwater diversion and intake closures.
- Resource Counter: monitors stored quantities of a specified good or storage fill rate; ideal for scaling production (activate extra Mills when Planks drop below X).
- Population Counter: activates when district population crosses a threshold — useful to scale housing, food production or bot assignment.
- Weather Sensor: detects weather/season state (drought onset, wind conditions) and can preemptively trigger emergency measures.
- Timer: cycles a signal on/off with set durations (useful for scheduled water releases, pulsed sharing of scarce power).
- API components: HTTP Lever and HTTP Adapter (unlock late). HTTP Lever accepts external API calls to toggle an in-game signal. HTTP Adapter exposes an in-game signal to external systems and can send webhooks; use these for dashboards or remote control.
Logic: Relays, Hysteresis, and circuit patterns
- Relays combine inputs and perform logic. Build cascading relay chains to create priority tiers (shut down least-important systems first during shortages).
- Implement hysteresis to avoid rapid toggling: use two Depth Sensors with different thresholds and combine them through Relays so systems turn on at a higher threshold and remain on until a lower threshold is crossed.
- Use Timers with Weather Sensors (Weather → Timer) to create temporary cycling behavior after a weather event (e.g., temporary rationing during drought).
- Use Resource Counters feeding Relays to automatically scale production: set counters to activate production when stock falls below your chosen threshold and deactivate when above.
Actuators: what automation can control

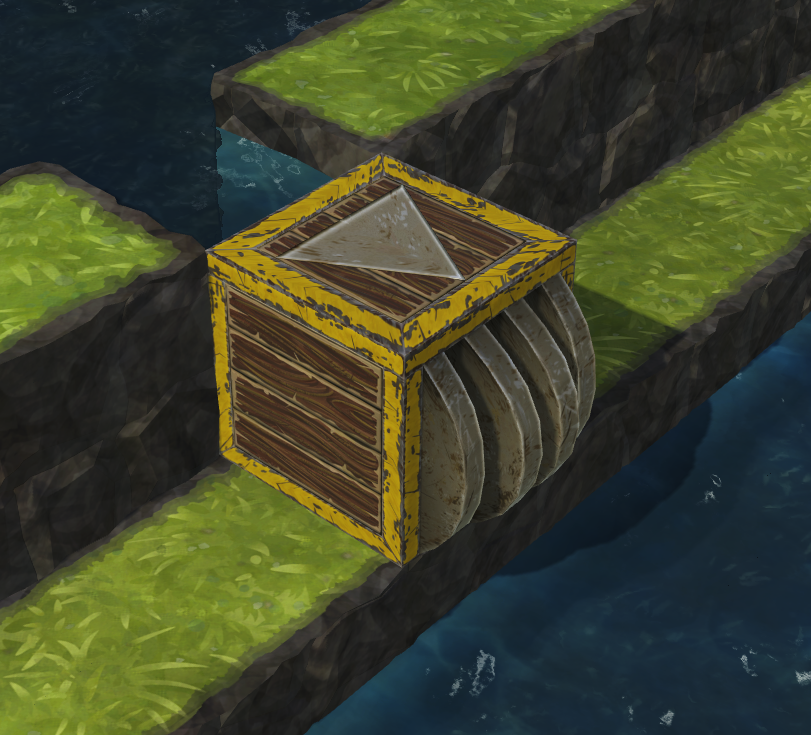

- Floodgates (and Double/Triple Floodgates): can be automated via signals to open/close at configured heights. Use with Depth Sensors to maintain reservoir levels.
- Detonators: trigger Dynamite fields for terraforming when connected to automation signals (be cautious — detonations propagate to adjacent charges).
- Other buildings (Gates, Distribution posts with Routes) can be automated to change behavior using signals where available.
Automation for water management
- Automate reservoirs and spillways: place Depth Sensors in reservoirs to control Floodgates or Fill Valves that release excess water only when needed.
- Flow Sensors paired with Relays can confirm a dam’s spillway is actually moving water before allowing downstream consumers to run.
- Throttling Valves are excellent for controlled rebalancing: combine an upstream Depth Sensor (sufficient supply) and downstream Depth Sensor (need) with an AND Relay. Configure On and Off flow values to provide full flow when needed and a maintenance trickle otherwise.
- Contamination Sensor + Fill/Throttling Valves: route contaminated water away from intakes or open bypass channels when contamination rises.
- Example drought circuit: Weather Sensor (drought) AND Depth Sensor (reservoir < X) → Relay → shut off non-essential Fill Valves, disengage Clutches to preserve power for pumps and food processing.
Automation for power management
- Use Clutches to split your power network into swappable segments. Clutches set to Automated can engage/disengage by signals (Depth Sensors, Weather Sensor, Power Meters).
- Power planning: calculate demand first; variable sources (Water Wheels, Wind) require generation equal to ~130–150% of demand to avoid shortages. Automation lets you shed non-essential consumers during low generation rather than starving everything.
- Pair Flow/Depth sensors on Water Wheel supply canals with Clutches to divert power to priority buildings when flow drops.
- Combine Power Meters, Resource Counters and Relays to automatically prioritize critical production chains (food and pumps) over optional industry.
Automation for production scaling and logistics
- Resource Counters are the most versatile: monitor Planks,


- Example: chain for food scaling — Resource Counter (

- Use District Center migration tools and Population Counters to balance beaver workers between districts automatically (configure desired minimums in the Migration Panel).
- For bot production: automate Bot Part Factories by Resource Counters monitoring Gears,

Automation for badwater defence and exploitation
- Build layered defenses: upstream dams/levees with Floodgates under automation to close during badtides (Weather Sensor + Depth/Contamination sensors).
- Containment and processing: Contamination Sensor upstream → close intake Fill Valve and open bypass Fill Valve. Route badwater to containment reservoirs and use Badwater Pumps feeding Centrifuges and Explosives Factories.

- Use Throttling Valves for automatic diversion of fresh vs badwater outputs based on contamination thresholds, and Relays to coordinate multiple valves.
Bots: automation interplay and production
 Timberbots (
 Folktails) use Biofuel and Timberbots must refuel from Biofuel Tanks fed by Refineries.
  Ironbots (
 Iron Teeth) recharge at Charging Stations and draw from the power grid.
- Charging Stations draw power continuously even when idle and charge one Ironbot at a time; plan for one Charging Station per ~2–3 Ironbots and distribute them near work areas to reduce queue times.
- Timberbots refuel at Biofuel Tanks; place Biofuel production (Refineries) and Tanks near work sites or along tubeway stations to reduce travel.


- Bots are 24/7 workers (not bound by work hours), have a fixed lifespan (70 days), and require a continuous replacement pipeline. Automate part production and assembly with Resource Counters so assembly halts don’t break your fleet replacement schedule.
- Use Tubeways and Tubeway Stations to speed bot movement; note Tubeway Stations can pass power to adjacent buildings but Tubeway segments themselves do not transmit power.
Common useful circuits and patterns
- Drought response: Weather Sensor (drought) AND Depth Sensor (reservoir < 50%) → Relay → close non-essential Fill Valves, disengage Clutches on secondary power segments, enable Timers for staggered water release to priority irrigation.
- Contamination bypass: Contamination Sensor → close Intake Fill Valve, open Bypass Fill Valve → switch Centrifuge/

- Flow-based Water Wheel management: Flow Sensor near Water Wheel → if flow < threshold, disengage Clutch to non-essential consumers; else engage.
- Production hysteresis: Resource Counter low-threshold activates extra production; a higher threshold (through a second counter + Relay logic) deactivates it only after the stock surpasses a higher point to avoid rapid cycling.
Best practices and optimization tips
- Modular design: build self-contained automation modules per function (water, power, production) so testing and debugging are easier and failures are contained.
- Place sensors where they best represent conditions (e.g., Depth Sensors in the reservoir, Flow Sensors in the channel under Water Wheels).
- Always provide local storage buffers close to automated production buildings (Bot Part Factories, Centrifuges, Refineries) so brief haulage delays don't stop critical processes.
- Use hysteresis widely to avoid on/off thrashing.
- Monitor idle power draw from Charging Stations when using Ironbots and include that in your power budget.
- Test circuits on small scale before deploying colony-wide. Use Timers to safely stage changes rather than flipping an entire network at once.
- For long-term scaling, cascade relays into priority tiers so improving conditions bring systems back online in the correct order.
Automation turns reactive micromanagement into robust, repeatable systems. Start simple (Depth Sensor →