Xeno-Logistics and Technum Chain Guide
If you’ve reached the point where basic logistics and material throughput are starting to hold your factory back, this is the chain you need to get working next. Technum parts and Xeno-Logistics pieces are the backbone of moving and extending your production network, and this guide walks you through how to set up the chain and decide what to build first.
Start with the parts you actually need to unlock the chain
Before you scale anything, make sure you can already make the full family of Technum intermediates and the two logistics buildings that consume them. The chain you are aiming at includes Technum Ore, Technum Ore (Alternative), Technum Rods, Technum Rods (Tier 1), Technum Rods (Tier 2), 
Here is the quick reference for the core recipe timing in this subsystem:
| Recipe | Time |
|---|---|
| Technum Ore | 1.5s |
| Technum Ore (Alternative) | 1.5s |
| Technum Rods | 3s |
| Technum Rods (Tier 1) | 3s |
| Technum Rods (Tier 2) | 6s |
|
5s |
 |
5s |
Use that timing to plan your build order. The short ore steps feed the rod steps, and the rod steps feed the logistics buildings. Since the source gives multiple Technum rod variants, build around whichever rod recipe your current progression supports instead of assuming there is only one path.
Choose a Technum Ore path and keep it stable
You have two ways to make Technum Ore: a standard recipe and Technum Ore (Alternative). Both are 1.5-second recipes, so neither is meant to be the slow, special-case path. That means your real decision is not speed; it is stability. Pick the route that fits your current setup best and keep it simple enough that you can run it continuously.
Do not split early production across too many branches. A clean line that runs all the time is more valuable than two half-fed lines that look flexible but starve each other. If one route is easier to supply, use that one and stick with it until you have room to expand.
Turn ore into the rod tier your factory can support
Once your Technum Ore line is steady, move it into the rod tier your factory can actually sustain. Technum Rods and Technum Rods (Tier 1) both run in 3 seconds, while Technum Rods (Tier 2) takes 6 seconds. That longer Tier 2 process is the one most likely to expose a weak upstream chain, because it will sit there waiting if your ore supply is inconsistent.
Start with the rod variant that matches your present throughput. If your ore line is still small, stay with the faster and simpler rod option you can already keep fed. Upgrade only after the ore side is already smooth and you can keep rod production active without manual intervention.
The practical rule is simple: stabilize ore first, then scale rods. Do not chase the longest recipe just because it sounds more advanced. A slower recipe is only better when the rest of the chain can support it.
Feed Xeno-Logistics parts without starving your rod line
Prioritize the one that solves your immediate factory problem first. If your network is still small, build the Xeno-Logistics Container or the Xeno-Logistics Tower you actually need, then let the line recover before you ask for more. That keeps your rod production from being cannibalized by your own expansion.
Think of these buildings as expansion tools, not baseline goods. Make a few when the factory needs them, then return to strengthening the ore and rod supply that supports future logistics growth.
Use Xeno-Crystal carefully until the recipe chain tells you how
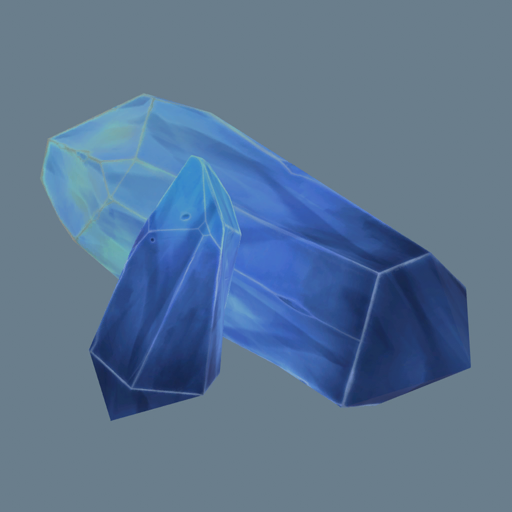
That means you should not build your production plan around it yet.
Scale the chain only after the bottleneck is obvious
The recipe timings tell you where this chain can go wrong. Technum recipes range from 1.5 seconds to 6 seconds, while Xeno-Logistics Container and Xeno-Logistics Tower both take 5 seconds. That spread is wide enough that the bottleneck can move as you expand. When production stalls, check the chain from the top down.
Start upstream with Technum Ore. If ore is unstable, nothing downstream will behave. If ore is fine, check rod production next, especially if you have moved into Technum Rods (Tier 2). Only after that should you worry about the final logistics buildings. This order matters because every later step depends on the earlier ones staying steady.
The safest way to scale is one layer at a time. Expand ore first, then rods, then Xeno-Logistics Container or Xeno-Logistics Tower as needed. That keeps each new demand from overwhelming the previous layer and gives you a clear read on where the true bottleneck is. If you expand all at once, you lose that clarity and spend more time untangling shortages than actually growing the factory.
If you keep the chain simple, choose the right Technum Ore path, and only move into the slower rod tiers once supply is stable, Xeno-Logistics production becomes a dependable extension of your factory instead of a constant drain on it.