Xenoferrite and Ignium Processing Guide
If your Xenoferrite and Ignium line feels like a pile of half-finished ore steps, the real fix is to turn it into a clear processing chain with the right buildings in the right order. Start by deciding whether you are still handling raw ores, making blends, or pushing into plates and steel beams, then place each step so it feeds the next without starving it. That mindset matters here because the family includes faster 1.5s and 3s recipes alongside slower 6s, 8s, and 10s processing at the advanced end. Build for the chain you actually want, not for every name on the list at once.
Identify the processing chain you need before you build anything
Before you place a single machine, map the full path you intend to support. The relevant recipe names in this family are Xenoferrite Ore, Xenoferrite Ore (Alternative), Ignium Ore, Xenoferrite-Ignium Ore Blend, Advanced Xenoferrite-Ignium Ore Blend, Xenoferrite Plates, Xenoferrite Plates (Tier 1), Xenoferrite Plates (Tier 2), Steel Beams (T1), Steel Beams (T2), 
Treat the front end and the finishers as separate responsibilities. The early ore steps are the fastest part of the family, the blend recipes are also quick, the plate path includes both faster and slower work, and the advanced end stretches to the longest processing times. That spread tells you what to do: keep the front end simple and stable, then only extend into slower processing once the input side is already reliable.
Here is a compact reference you can use while laying out the line:
| Recipe | Machine | Time |
|---|---|---|
|
Not listed | 10s |
| Advanced Xenoferrite-Ignium Ore Blend | Not listed | 3s |
|
Not listed | 8s |
|
Not listed | 6s |
| Ignium Ore | Not listed | 1.5s |
| Steel Beams (T1) | Not listed | 6s |
| Steel Beams (T2) | Not listed | 6s |
| Xenoferrite-Ignium Ore Blend | Not listed | 3s |
| Xenoferrite Ore | Not listed | 1.5s |
| Xenoferrite Ore (Alternative) | Not listed | 1.5s |
| Xenoferrite Plates | Not listed | 3s |
| Xenoferrite Plates (Tier 1) | Not listed | 3s |
| Xenoferrite Plates (Tier 2) | Not listed | 6s |
Set up raw ore handling first so the rest of the line never starves
Start by stabilizing ore intake and initial processing before you worry about advanced outputs. Xenoferrite Ore, Xenoferrite Ore (Alternative), and Ignium Ore all appear as 1.5s recipes, which makes them the fastest part of the family and the best place to build reliability. If this front end is inconsistent, every later recipe in the Xenoferrite and Ignium chain will stall behind it.
This is also where Crusher I and Crusher II belong in your planning. Use them as part of the processing route for raw material, and do not overcommit to advanced output before this section is steady. If your ores are backing up or arriving in uneven bursts, fix that first; otherwise, the chain will just move the bottleneck downstream.
The practical rule is simple: feed the ore step continuously, then expand crushing only when you can keep both raw inputs and downstream consumers busy. Early recipes are short, so they reward clean throughput more than brute force.
Move from ore to blends once your input stream is steady
Once raw ore handling is stable, hand the material off into the blend stage. Xenoferrite-Ignium Ore Blend is a 3s recipe, and Advanced Xenoferrite-Ignium Ore Blend is also a 3s recipe. That tells you two important things: blending is the first real handoff point in the chain, and the advanced blend is not a reason to abandon basic stability.
Build the standard blend first and make sure it can run without interruptions. Then add the advanced blend only when the earlier ore steps are already reliable. If you rush this stage while ore handling is still inconsistent, you will end up with blend machines waiting on input and masking the real problem upstream. Keep the blend section close to the ore section so you can see shortages quickly and adjust before they ripple into the rest of the factory.
Choose the plate path or the beam path based on what your factory actually needs
Once blending is working, decide whether your priority is Xenoferrite-derived components or structural materials. Xenoferrite Plates is a 3s recipe, Xenoferrite Plates (Tier 1) is also a 3s recipe, and Xenoferrite Plates (Tier 2) stretches to 6s. That makes the plate route a good place to push when you need more refined Xenoferrite output, but it also warns you that the tiered version slows down as you move up.
The beam route is parallel to that. Steel Beams (T1) and Steel Beams (T2) are both 6s recipes, so do not expect the beam line to behave like the early ore steps. If your factory is starving for structural materials, prioritize the beam route. If you need Xenoferrite-derived components, push the plate route instead. Keep the tiered versions separate so you can see whether the bottleneck is in the basic plate branch, the tiered plate branch, or the beam branch.
The key mistake to avoid here is mixing priorities. A line that is trying to feed both beams and plates too early will look busy but produce little of what you actually need. Pick the output that matters now, then expand the other side later.
Use the Advanced Smelter as the point where the line becomes truly advanced
The Advanced Smelter is the clearest signal that the family has moved into heavy processing, and it sits at 10s, the slowest recipe time listed here. That is your cue to stop thinking in terms of quick turnover and start thinking in terms of sustained feeding. The advanced blend and the tiered outputs sit alongside the Advanced Smelter in the same processing family, which means the whole upper half of the chain is built around slower, more deliberate throughput.
Place the Advanced Smelter where it can be fed continuously. If you let it sit between weak supply and uncertain downstream demand, it becomes the choke point for the whole line. Plan its supply before you build more of it, because a slow machine is only efficient when it never waits.
A good rule is to let the fast ore steps absorb variance, then use the advanced end only after you can keep it busy. The slower entries in this family belong at the point where your factory is already mature enough to support them.
Scale the line by watching which step is actually slowing you down
When the line slows, do not blindly add more of every building. The recipe spread here includes Xenoferrite Ore (Alternative), Xenoferrite Plates (Tier 1), Xenoferrite Plates (Tier 2), Steel Beams (T1), Steel Beams (T2), the two blend recipes, and the slower processing buildings. Because the times range across 1.5s, 3s, 6s, 8s, and 10s, different stages will not scale the same way.
Check the bottleneck in order: raw ore, crushing, blending, smelting, then plate or beam finishing. If the front end is short, fix that first. If the blends are backing up, add to the blend section. If the advanced smelter is idle, give it more feed. If plates or beams are lagging, expand the finish stage instead of doubling down on upstream production you do not yet need.
That is the clean way to handle this family: keep the early ore work stable, move into blends only after the feed is steady, choose plates or beams based on current demand, and let the Advanced Smelter be the point where the line becomes truly advanced.
Pages featured in this guide
- recipeXenoferrite Ore (Alternative)
- recipeIgnium Ore
- recipeXenoferrite-Ignium Ore Blend
- recipeAdvanced Xenoferrite-Ignium Ore Blend
- recipeXenoferrite Plates
- recipeXenoferrite Plates (Tier 1)
- recipeXenoferrite Plates (Tier 2)
- recipeSteel Beams (T1)
- recipeSteel Beams (T2)
- buildingAdvanced Smelter
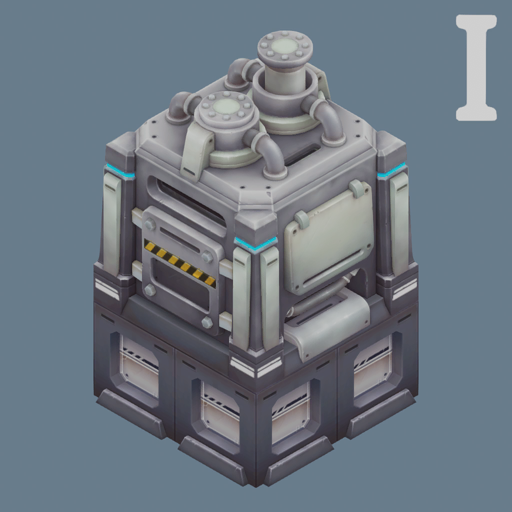
- buildingCrusher I
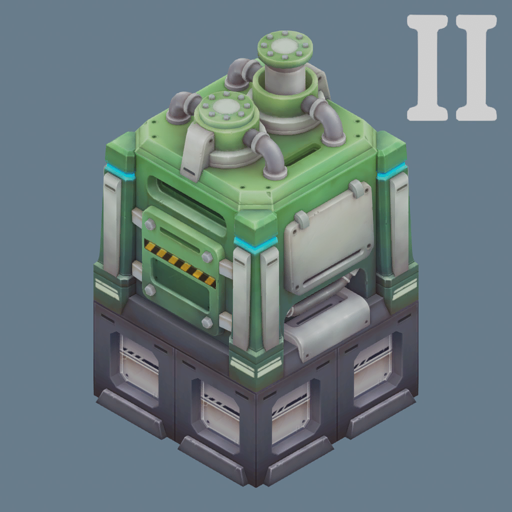
- buildingCrusher II
- recipeXenoferrite Ore