Early Game Guide: Priorities, Platforms, and Transport
Early game in Shapez 2 covers the first steps you take after landing: establishing reliable raw-material intake from asteroids, basic processing to satisfy early Vortex goals and Milestones, and laying the groundwork (platforms, belts, pipes, and early trains) so your factory can scale without painful rework.
Priorities and goals
- Deliver the milestone shapes into the Vortex to unlock technology, Platform Capacity and Blueprint Points.
- Keep expanding usable building area by acquiring Platform Capacity via Milestones/Jobs or buying it from the Shop. Machine Platforms define where you can build — build compactly until you can afford larger platforms.
- Focus on throughput: early goals are delivered per-shape, so make sure miners/pumps feed reliably into processors and then into belts/pipes toward the Vortex or loaders.
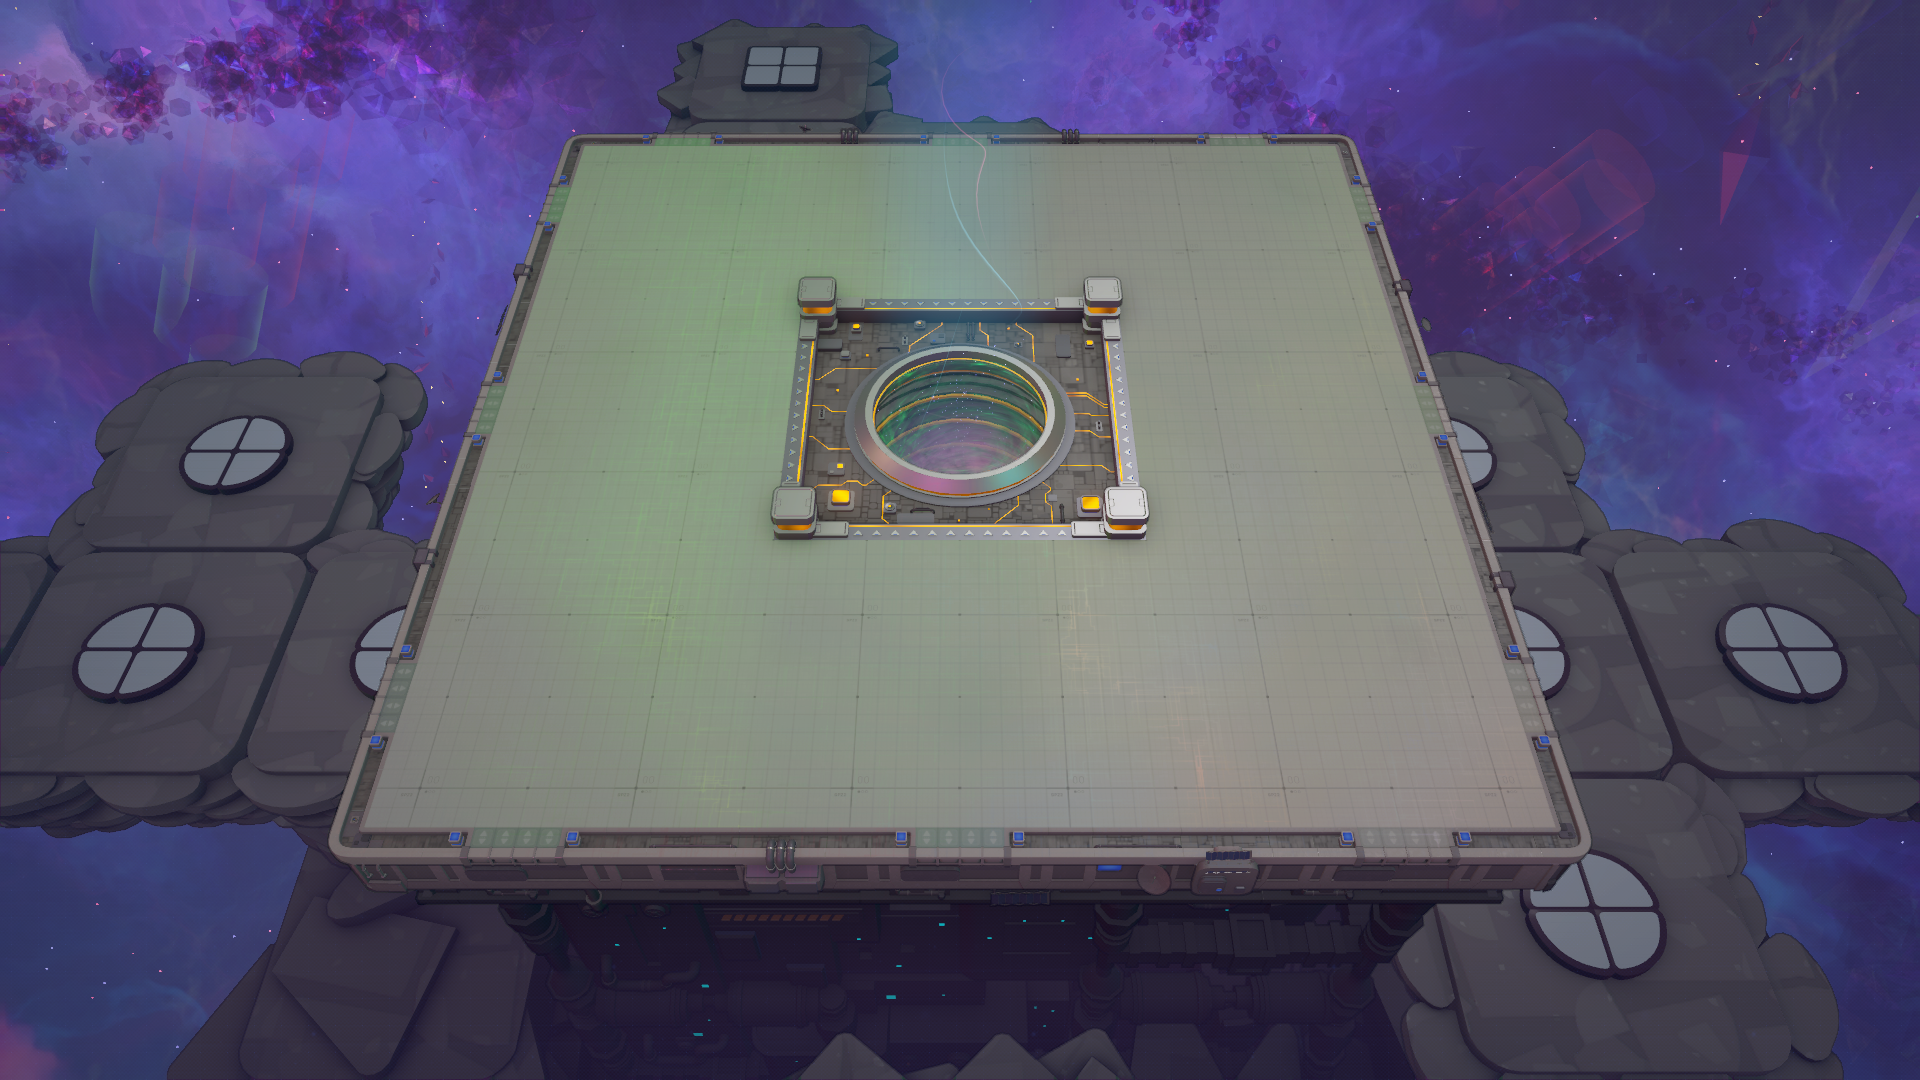
Machine Platforms — where you build
- Machine Platforms provide the terrain for machines and cost Platform Capacity equal to the number of space tiles (chunks) the platform covers. The smallest 1×1 chunk costs 1 Platform Capacity.
- Each platform chunk has unusable edge rows/columns (set back from chunk border), so a 1×1 chunk gives an effective building area around 14×14 tiles. Larger platforms gain extra usable rows/columns across chunk boundaries (a 2×2 platform gives much more usable space than four separate 1×1 platforms).
- Early-game tip: buy just enough platform space to place miners/pumps and compact processing lines. Save Platform Capacity for Pump/Booster/Miner attachments until you need them.
Asteroid extraction basics
- Asteroid Miners and Asteroid Pumps take resources from asteroid tiles. You can extend their yield and reach using Miner Boosters and Pump Boosters placed on asteroid platforms pointing at the miner/pump.
- Each Miner Booster or Pump Booster costs 1 Platform Capacity and can be chained; each booster increases the number of mini-miner or mini-pump locations so you can harvest more asteroid patches without adding separate miners.
- Place boosters efficiently around high-yield asteroid patches to maximize early raw supply.
Transport basics: belts, pipes, and space variants
- Belts carry shapes; Pipes carry fluids. Early-game belts/pipes are omnidirectional and can split and merge.
- Splitters and mergers:
- Belts: can split from 1 input to 1/2/3 outputs, or 1/2/3 inputs to 1 output (but never 2 inputs and 2 outputs). Use splitters to feed multiple processors or load multiple lanes to Space Belts.
- Pipes: split and merge in all four directions; use them to distribute fluid to multiple machines.
- Space Belts and Space Pipes (used on platforms) are directional, move items/fluids faster and have large capacities:
- Space Belts carry up to the equivalent of 48 full belts of shapes (16 belts per machine level; 4 lanes). Each Space Belt tile uses 0.5 Platform Units.
- Space Pipes carry up to 288 full Fluid Launchers (96 per machine level; 24 launchers per lane). Each Space Pipe tile uses 0.5 Platform Units.
- Early-game tip: reserve Space Belts/Pipes for cross-platform highways once you start building multiple platforms; on a single platform regular belts/pipes suffice.
Handling shapes and gravity
- Shape processing follows shape gravity rules: for each layer (bottom to top), groups of horizontally connected parts fall if not vertically supported; crystals inside falling groups are destroyed. This means stacking and how you split/merge layers matters.
- Pins act as supports in place of gaps in specific cases (they support parts above them but do not connect horizontally). Pins are generated via the Pin Pusher and are not painted by Painters (they have no color). Pins can be replaced by Crystals by the Crystal Generator and are sometimes ignored by the Vortex in delivery acceptance.

The Vortex and deliveries
- The Vortex is the delivery sink for shapes. Rotation of shapes does not matter; pins may be ignored in some cases when checking acceptance.
- The Vortex has multiple ports per side but only a subset are available at game start; additional ports unlock through Shop/Vortex Upgrades and Machine Level items.
- Train Launcher delivery (if unlocked later) will deliver all shapes on a train into the Vortex at once.
Early trains (unlock timing & basics)
- Trains unlock early in many scenarios (Milestone 2 in Classic–Regular). The initial unlock gives:
- Rails, Train Launcher, red Rail Configurator, Shape Loader/Unloader, red Train Locomotive, Immediate Stop, and Shape Wagons.
- Train Configurators let you create color-specific routing on splitters so trains of a given color follow the branch assigned to that color.
- Unloaders accept up to 39 packages buffered (12 per level + a bit more if progress bar is full) and output to up to four ports per level. Fluid Wagons/Unloaders unlock later with Research Points.
- Shop upgrades can increase Train Speed and other train stats; upgrade levels increase speed in steps.
Early production machines and shortcuts


- Wireless Senders/Receivers and Belt Launchers/Catchers provide ways to bridge gaps when direct wiring/belts are awkward. Wireless connections must be placed by dragging sender to receiver (receiver must be within 1–4 tiles), and connection rules pick the furthest receiver when multiple are in range.
Blueprints and scaling
- Pasting blueprints can cost Blueprint Points. In Relaxed and Normal difficulties pasting is free; in Challenge it costs points.
- You earn Blueprint Points by delivering certain shapes to the Vortex and completing Milestones/Jobs. Save blueprint points for when you redesign to a larger, cleaner factory later.
Early layout advice and common pitfalls
- Compactness: early platforms are limited in usable area due to chunk-edge setbacks. Design compact processing lines so they fit the effective build area.
- Planning for upgrades: place space-belt/pipe connection notches (the 4-tile wide notches on platform edges) with future expansion in mind. Reserve room for loaders/unloaders at platform notches if you plan to use trains.
- Avoid destroying crystals unintentionally: understand shape gravity and stacking so crystals within shapes are not lost if the shapes fall during processing.
- Use Trash and Item Producer to avoid early clogging while iterating on layouts.
- Use Miner/Pump Boosters to get more yield from asteroid patches before building additional miners/pumps.
This early-game framework will get you reliably producing and delivering the milestone shapes needed for steady progression: secure asteroid intake, compact processing on Machine Platforms, correct use of belts/pipes and pins, and strategic use of Space Belts/Pipes and trains as soon as each is unlocked.
Pages featured in this guide
- mechanicTrains
- mechanicSpace Platforms
- buildingFluid Producer
- mechanicOperator Level
- buildingPipe
- mechanicSpace Transport
- buildingAsteroid Miner
- buildingAsteroid Pump
- mechanicBlueprints
- buildingConveyor Belt
- mechanicGame Modes
- buildingItem Producer
- buildingMachine Platforms
- mechanicMilestones
- shapePin
- mechanicShop