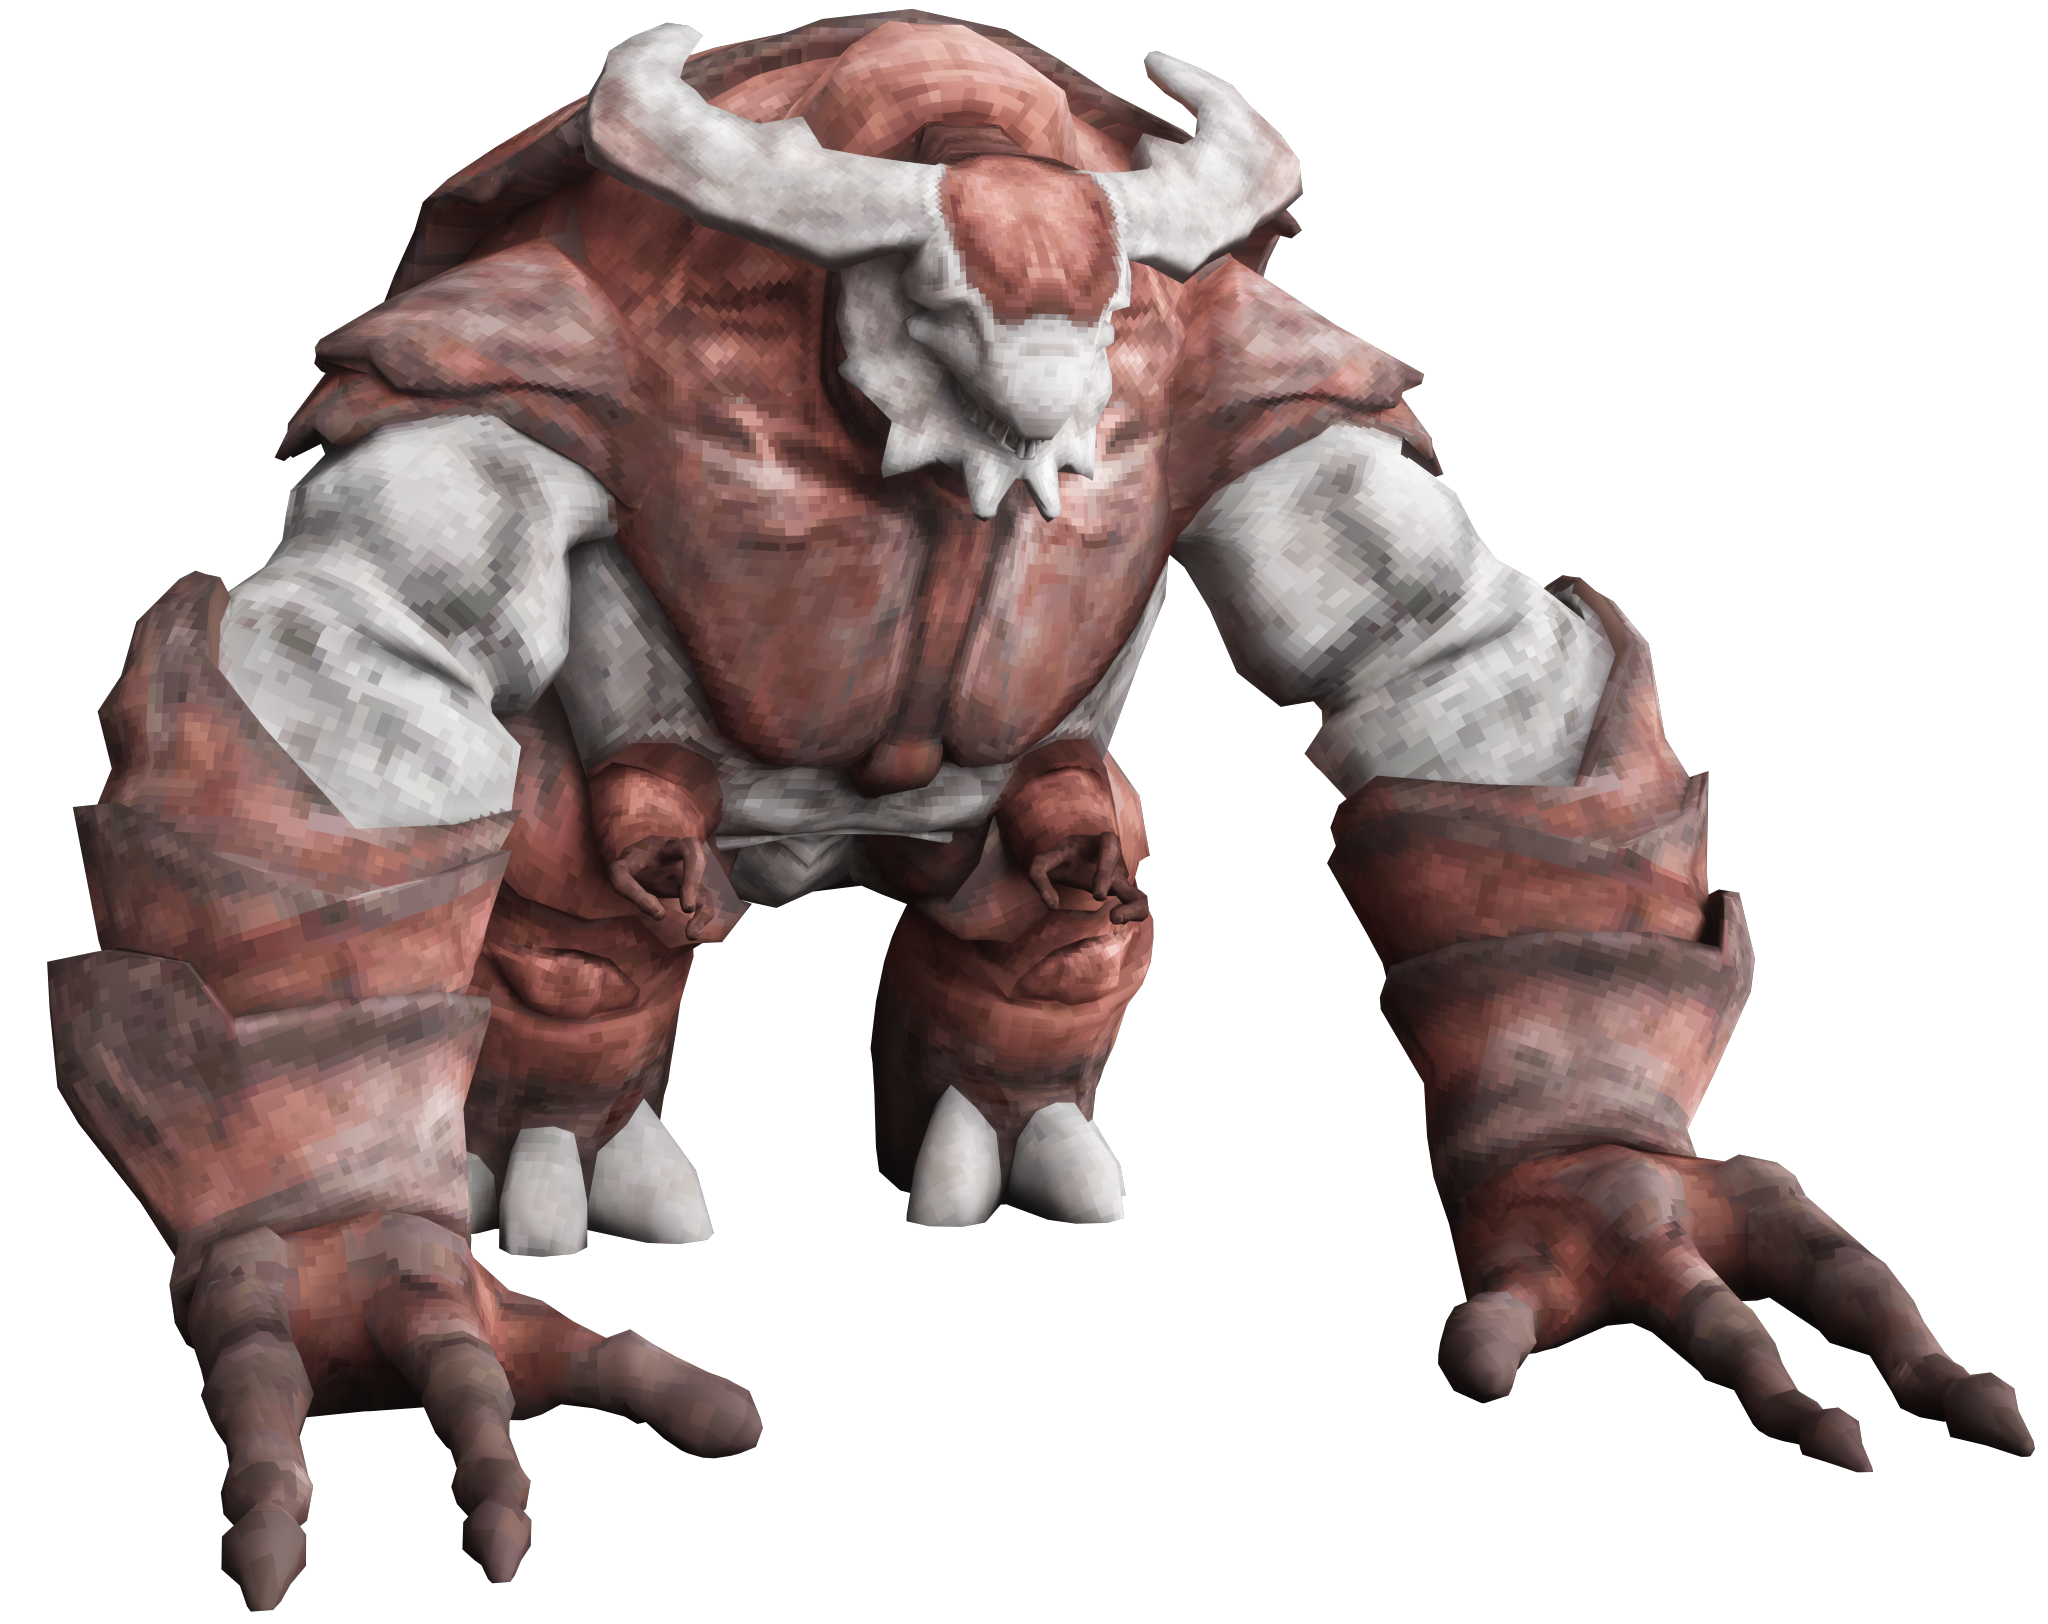
Behemoth
Overview
Behemoth is a large red variant of the 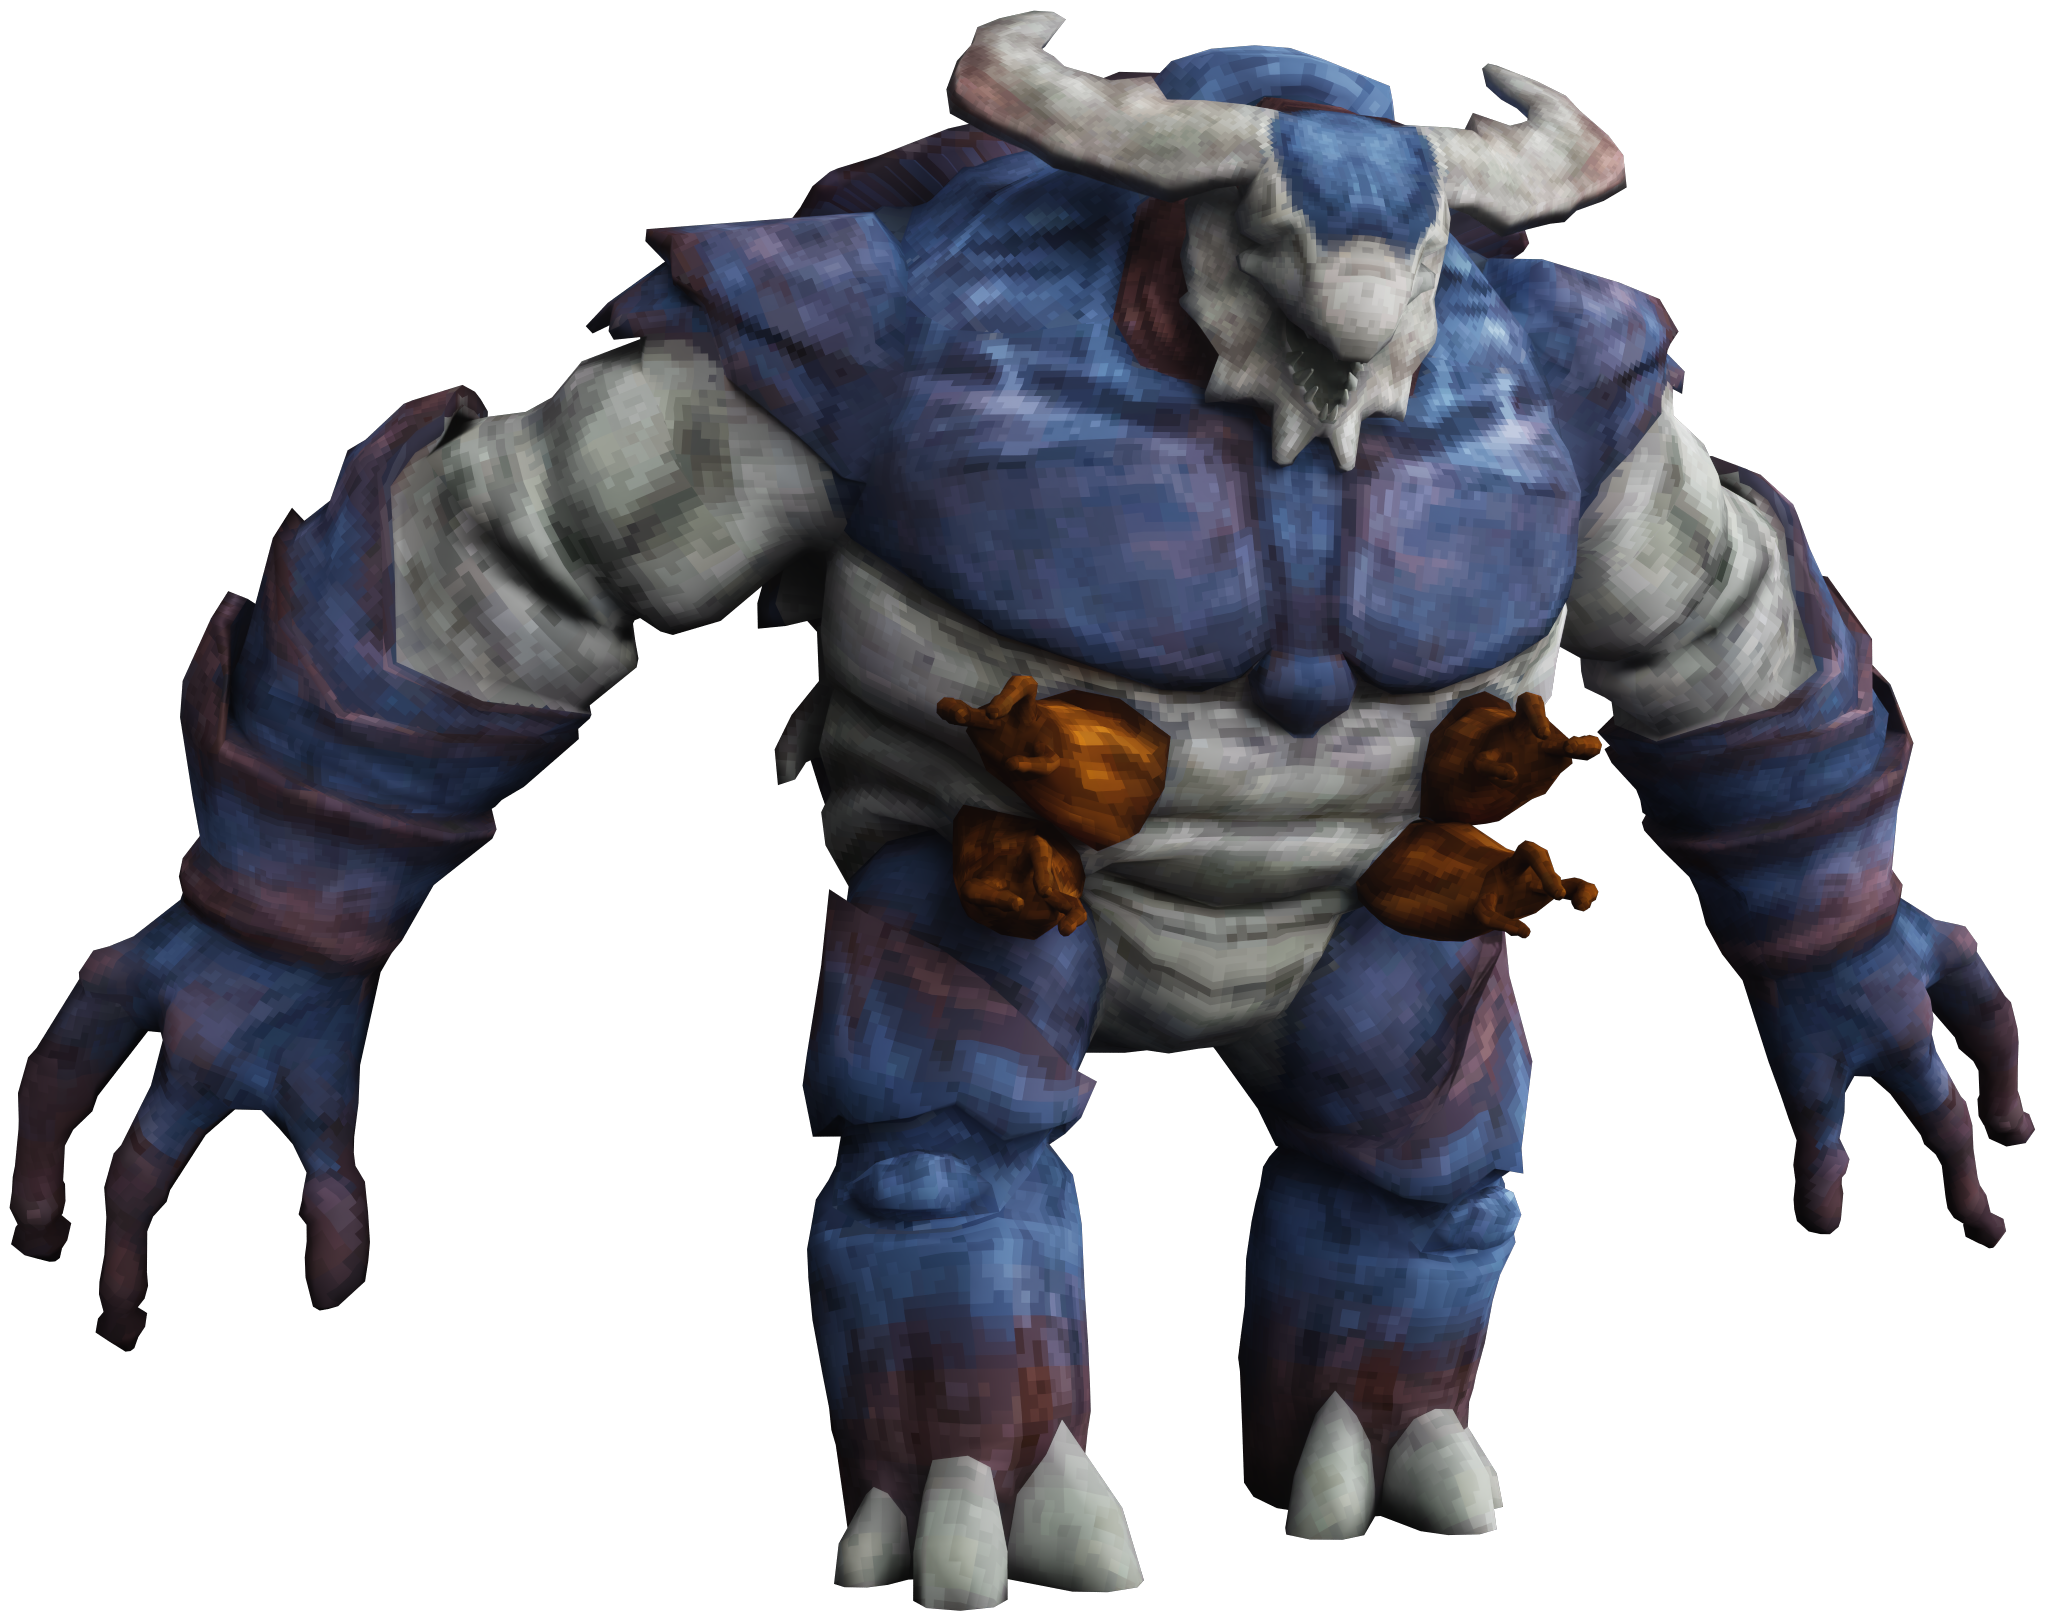
In combat, Behemoth behaves the same as the Tarasque, using the same attacks, resistances, and weaknesses. Its greater size makes the fight more dangerous: it can leap farther and higher than the Tarasque can in its containment, and its attacks cover a wider area. Its weak flesh parts are nearly as durable as its full health, making it harder to wear down overall. The creature is also difficult to track in darkness, as it is largely hidden in the shadows; NVGs and GATE NVGs reliably reveal its position, and weather events can make it easier to spot by improving visibility.
A few practical points stand out:
- Fire and electrical weapons deal extra damage, just as they do against the Tarasque.
- Behemoth is too large to leave the room it is trapped in and cannot jump onto the scaffolding.
- The corridors can be used safely to retreat or to attack from cover.
- In the Dusk Reactor, its location can become especially obvious during a radiation leak.
Behemoth drops Tarasque Ichor and a 
References to this (4)
Other entities of this type
- Adiabatic Queenfish
- Alpha Peccary
- Amaranthic IS-0098
- Antefish
- Archivist
- Armored Exor
- Assassin
- Auric Gutfish Eel
- Big Hive Larva
- Big Larva
- Bigfoot
- Bigogi
- Bogman
- Bombogi
- Breacher
- Captain
- Carbuncle
- Caustic Radfish
- Chieftain
- Chordfish
- Close-Quarters Combatant
- Composer
- Containment Bot
- Corpsewalker
... +91 (see sidebar for full list)